
Photo Tips The Will Get You More Remodeling Projects
There are so many times that project photos come in handy. Typically, we talk a lot about using photography for marketing purposes and to showcase your work. However, this isn’t the only reason you should implement photography on the job.
Having pictures from the beginning to the end of a project can be useful to show clients what’s going on while they aren’t present, to warranty the work that is being done, and in the worst-case scenario, if a false claim is made about something not being completed properly.
Typically, there is a lot going on at a jobsite and photography is the last thing the person in charge is probably thinking about, but when the project is completed, we have heard more times than not, “I wish we would have taken pictures of this.”
Here are some tips for contractors and trade industry workers to keep in mind when taking photos on the job.
Take multiple shots from different angles.
Most of the time, the first image you shoot will not be the one you will use. Taking multiple pictures will give you a variety to choose from and capture the project from different perspectives.
Make sure the area is free of clutter.
Clutter on the job, means cluttering the image. Anytime a photograph can have a cleaner look, people are more likely to respond. Plus, its less of a distraction and more focus on the project at hand.
Use photo editing apps or software before posting.
This is HUGE! Apps can be downloaded to your phone is just a few seconds, and you will be surprised at what they can do! Esthetics really play a major role when presenting to clients and future proposals

For interior shots use as much natural light as possible; open blinds, curtains, etc.
There’s no better lighting than natural. I know you have seen some of the pictures that have an orangey tint that homeowners have taken. They are awful. When taking interior shots, you want all the light you can get and typically shooting from a doorway is best.
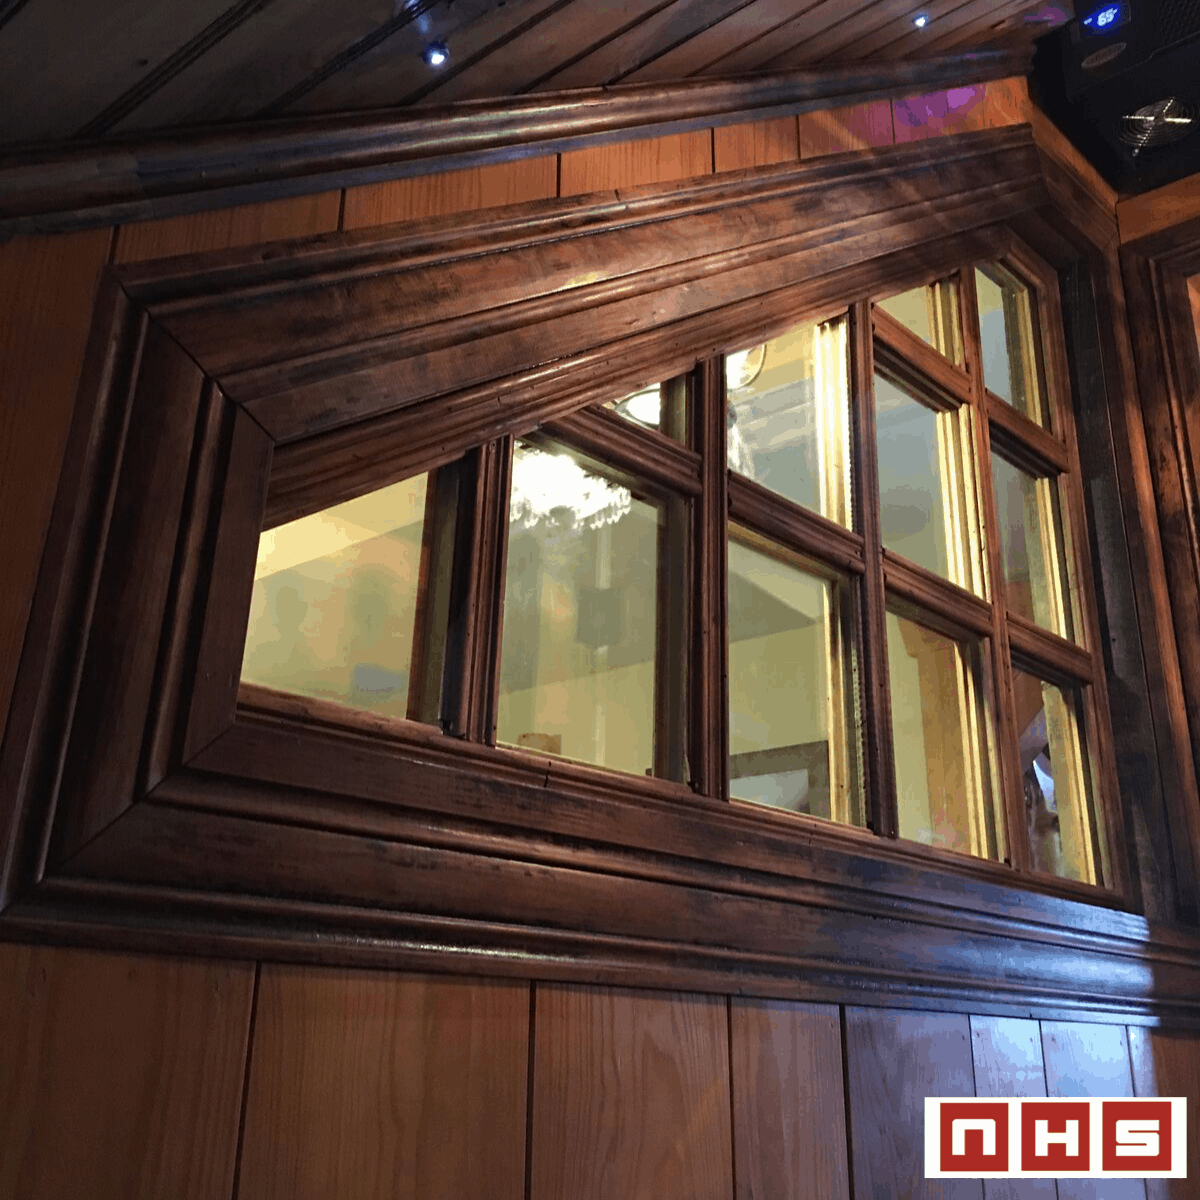
Be sure to highlight high-end finishes or services with close up shots if applicable
Taking pictures of the project as a whole is great just so everyone knows what they are looking at, but it’s even better when you can get close ups. This highlights the specifics in the project, and to your client this could mean going the extra mile!
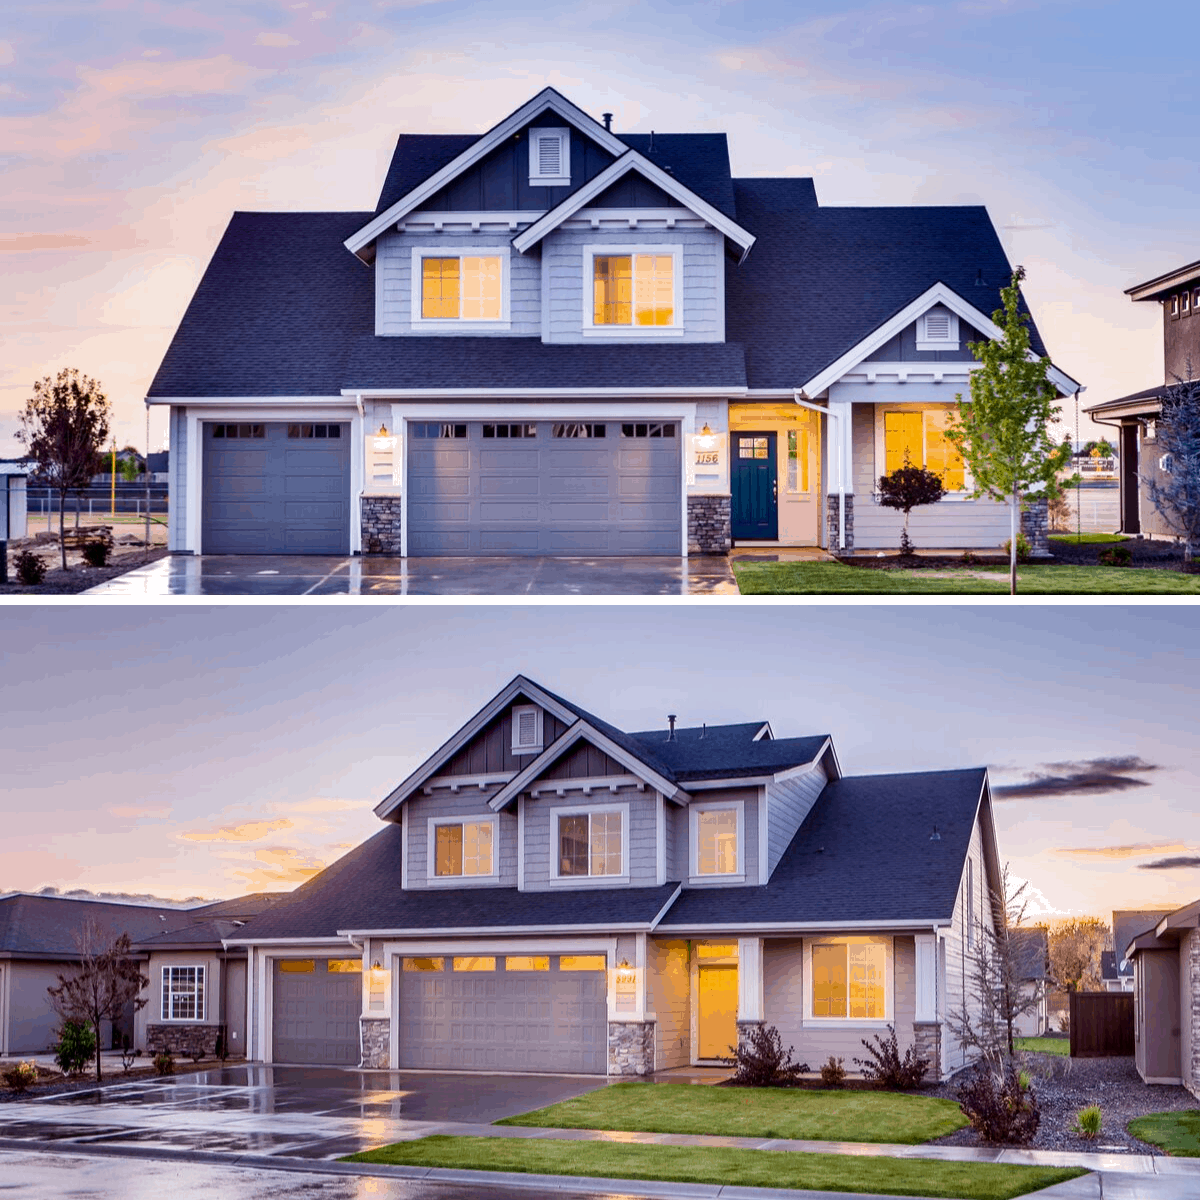
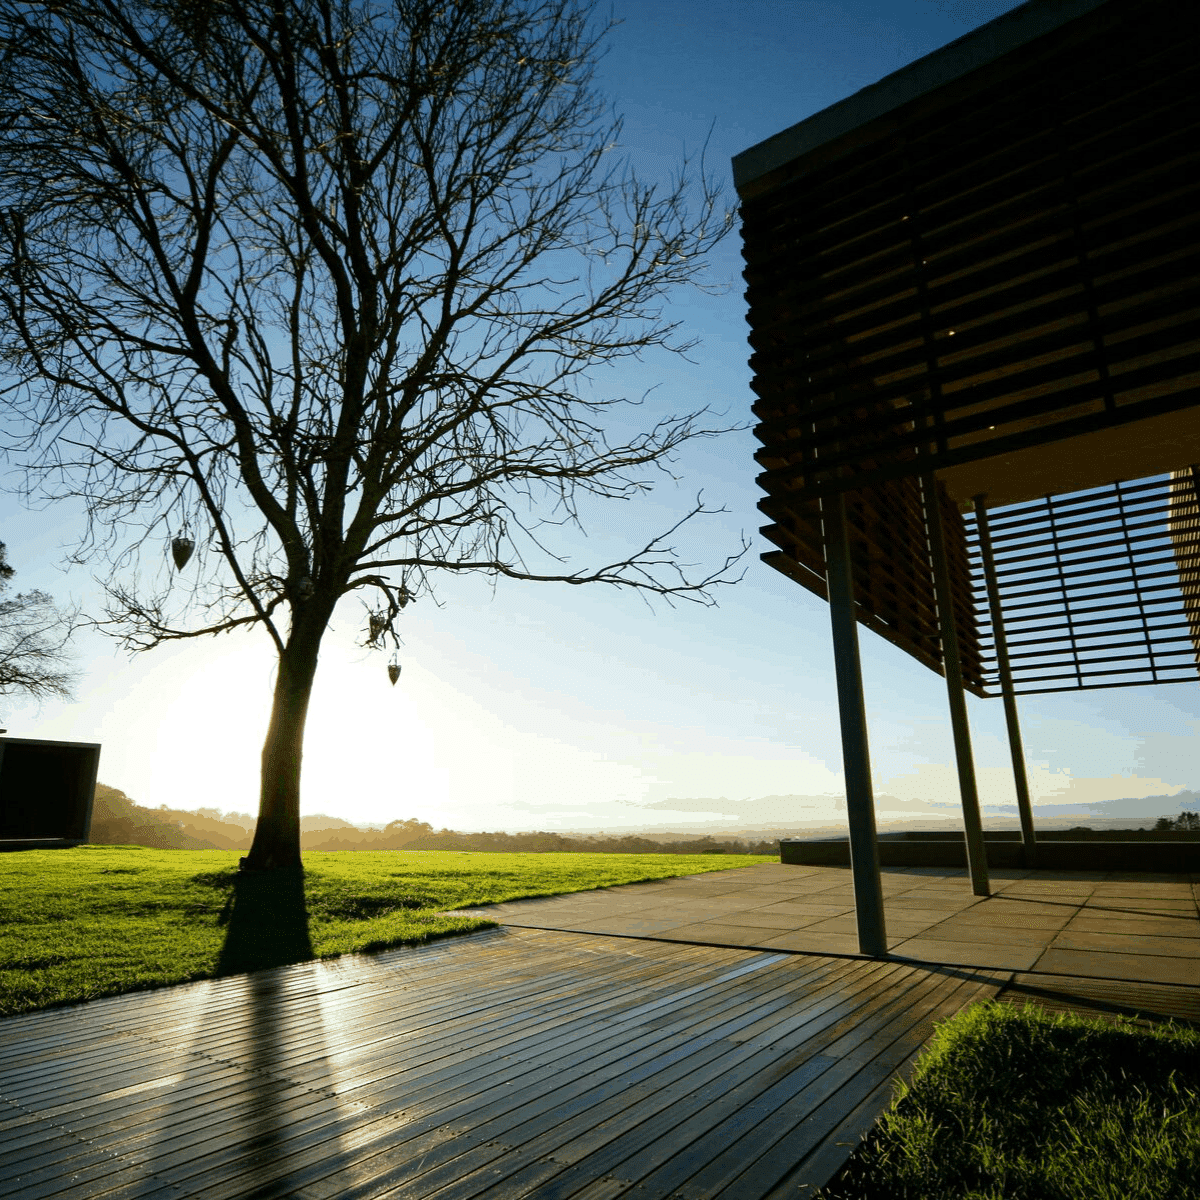
If taking outside shots of a house or building, shoot from an angle rather than straight on.
When shooting from a straight on point of view, it makes the structure look flattened. Seeing things from a different angle shows the architectural lines and gives more dimension.
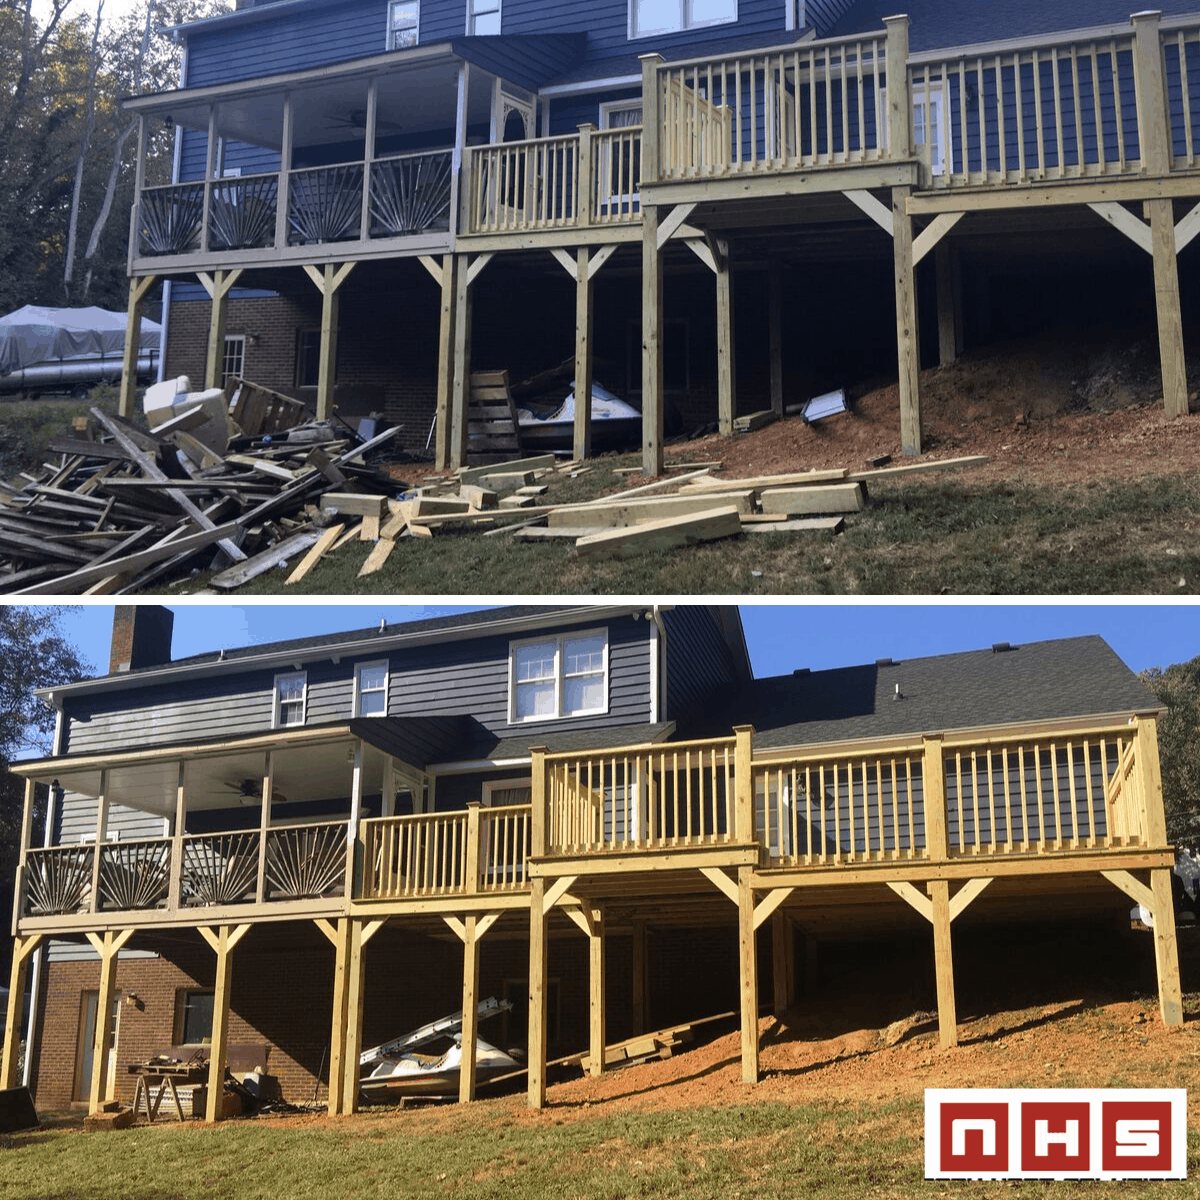
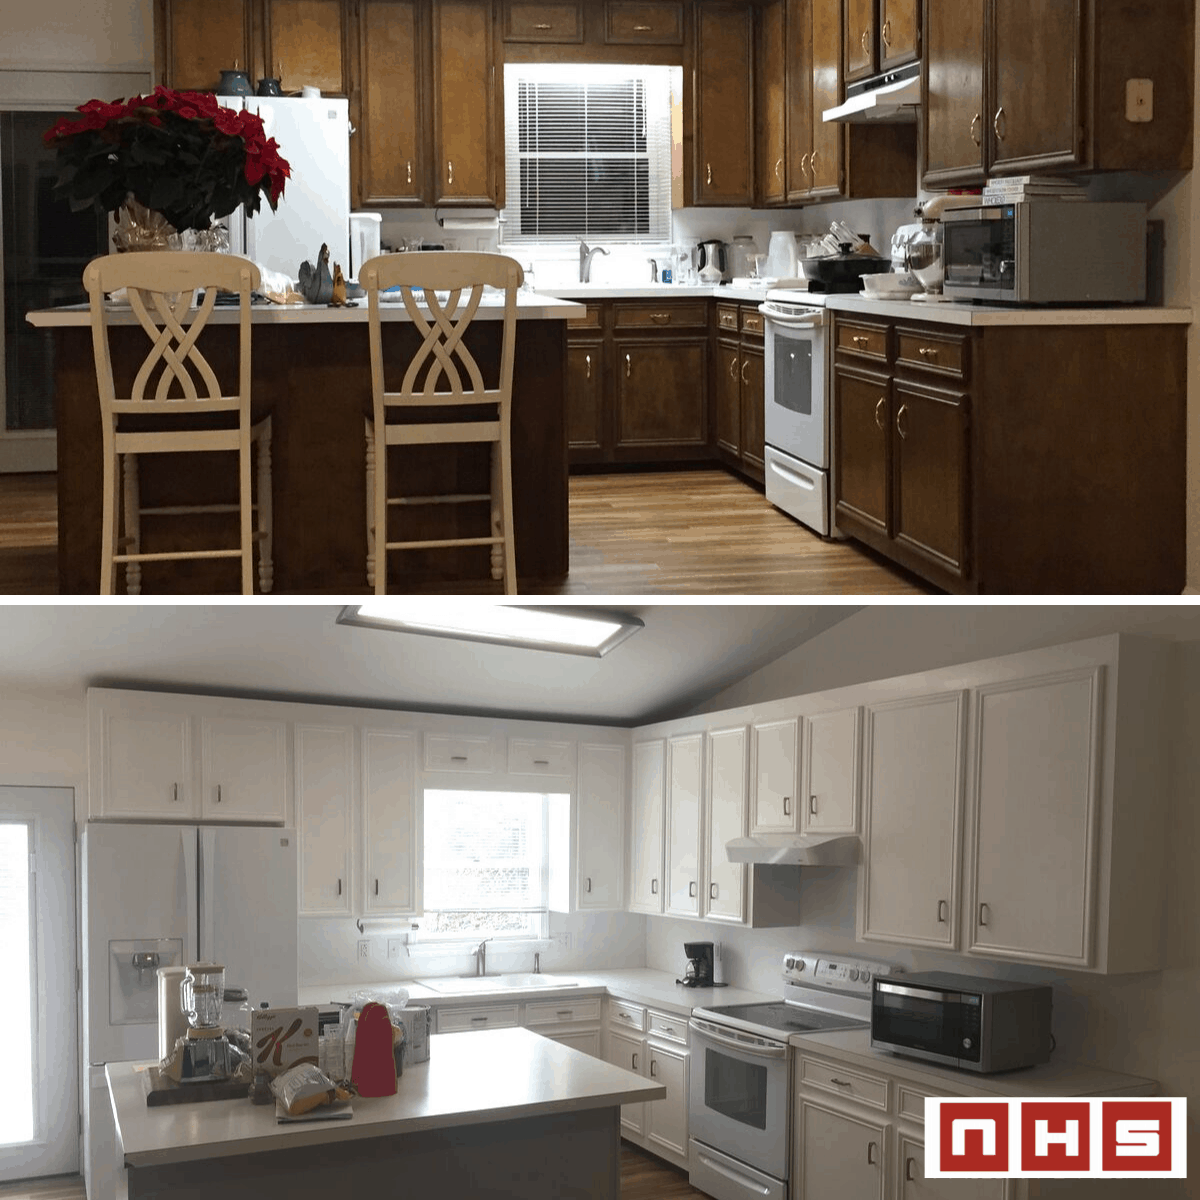
Take before and after photos/progress pictures to tell the project from start to finish
Some projects may be better than others, but clients love before and after photos. It showcases your talent and allows them to visualize what their own project can be. Progress pictures really shows the process from start to finish and most people really like that. Plus this can also justify all the hard work that goes into your actual day to day work, which can make a difference if you have clients that are always asking for discounts.

Think about Drone photography for aerial shots
Drone photography has become extremely popular, especially in the real estate industry. These pictures are just cool because we don’t see them every day. So, this may be an option for you when working on large outdoors projects
Remember to have the employee’s permission to post, and keep in mind that some tools may be proprietary to the company, so you may not want to photograph certain things.
You don’t want to be the one to give away a company secret, or to have an angry employee that hates having their pictures taken and think you are invading their privacy. So just as a courtesy thing and to avoid any confrontation, ask for permission.
Include employees in your photos, then use them later for marketing ideas such as “behind the scenes”
If you are wanting to show a comparison in a scale perspective, be sure there is another object in the photograph to convey that idea.
Anytime you are wanting to show the size of something, you really need another object to compare it to. Take a look at the image below to see the difference. This really comes in handy for documentation.
Be sure that your light source is behind you.
When the light is behind you don’t have to worry as much about shadows and not being able to edit later due to overexposure. Overexposure and heavy editing can cause the images to become pixelated and overall poor quality.
You will become a jobsite photo pro in no time! Using these photography tips will really WOW your next clients. If you don’t have a fancy camera, don’t worry. Smartphones with cameras have come a LONG way. Some of my photos look better from my phone versus my full-size digital camera!
What’s your favorite photography tip? How do you make sure that you take the best photos at the jobsite?
Want FREE Social Media Posts?
Grow your plumbing page on social media with our FREE graphics & captions. Download for FREE today! Just copy, paste, & schedule.
Read Next
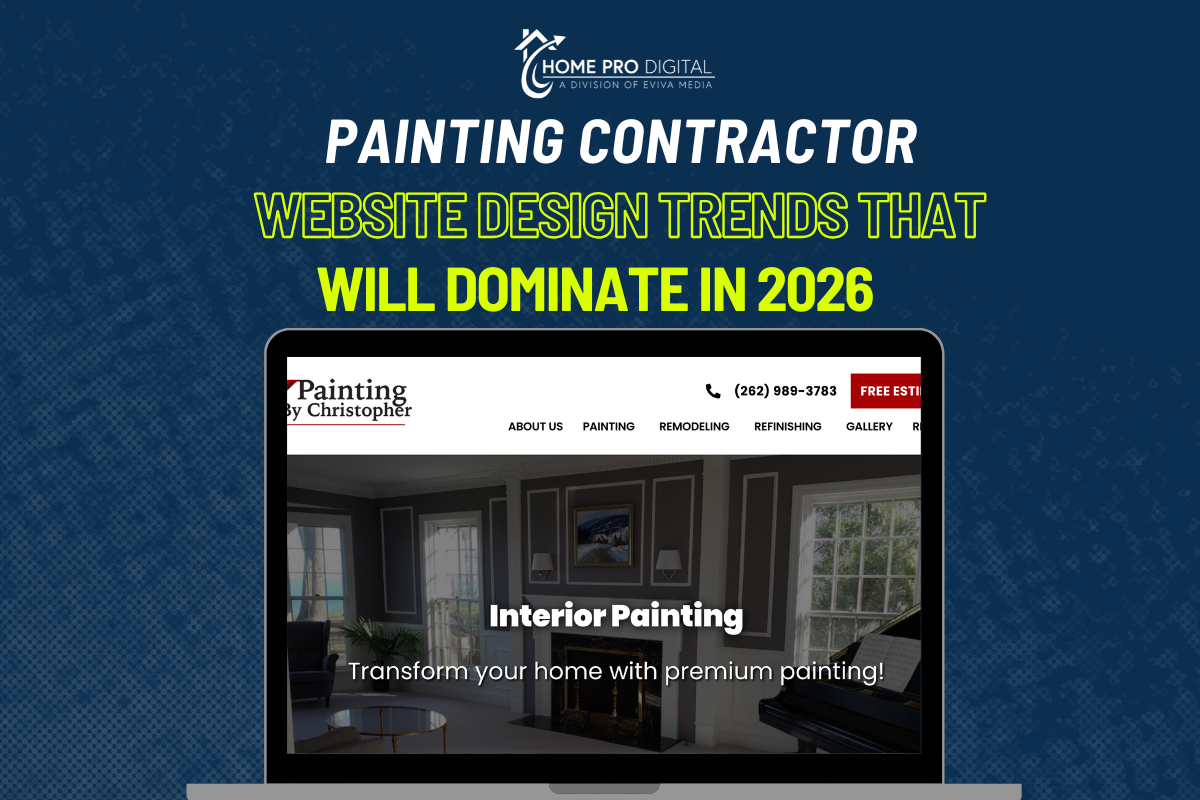
Painting Contractor Website Design Trends That Will Dominate in 2026
The painting industry is evolving and so is the way customers find and choose contractors. In 2026, having a basic online presence won’t be enough. Homeowners today judge your professionalism long before you arrive for an estimate and it starts with your website. That’s why modern painting contractor website design is becoming one of the…

Septic Service Marketing: Digital Tactics That Actually Work
Most septic service businesses don’t struggle because they lack skill or experience, but because potential customers can’t find them at the exact moment they need help. Septic problems rarely come with a warning. One day everything works fine, and suddenly there’s standing water, slow drains, or a last-minute inspection tied to a home sale. When…